

Banana Ghosts Recipe

You know that moment when Halloween’s breathing down your neck, and you’re scrambling for something festive that won’t send everyone into a sugar coma? Well, these banana ghosts might just save your sanity. They’re ridiculously simple—we’re talking three ingredients and zero baking—yet they look like you actually planned ahead. The best part? Your kids will think you’re some kind of kitchen wizard, when really you just stuck chocolate chips into white chocolate-covered bananas.
Overview
- Cut 4 ripe bananas in half, insert popsicle sticks halfway through, and freeze for 2 hours.
- Melt 8 oz white chocolate in microwave using 30-second intervals, stirring between each burst.
- Dip frozen banana pops straight down into melted chocolate and twirl gently for even coating.
- Press two mini chocolate chips into each ghost for eyes before the chocolate hardens.
- Store finished banana ghosts in freezer on parchment-lined baking sheet to maintain shape and texture.
Recipe
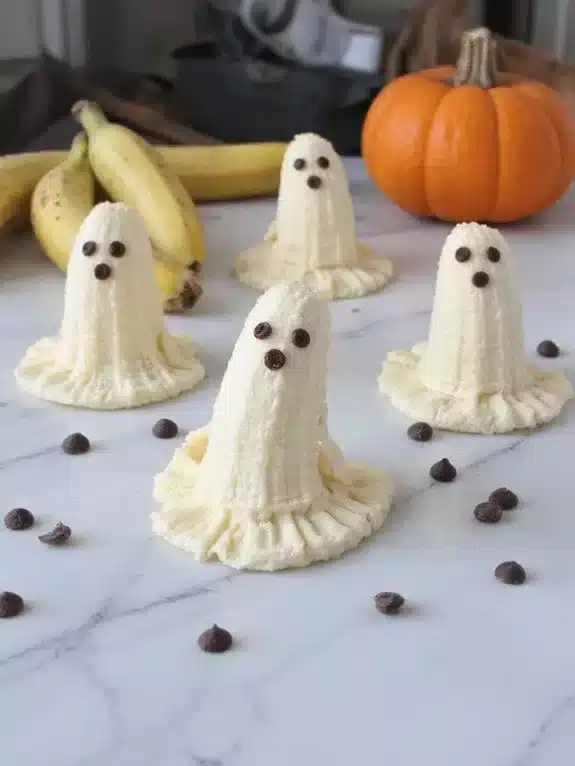
These adorable little Banana Ghosts are about to become your new favorite Halloween treat, and honestly, they’re so simple that even I can’t mess them up. There’s something magical about watching ordinary bananas transform into spooky-cute ghosts with just a dip in white chocolate and a couple of mini chocolate chips for eyes. The best part? No baking required, which means no risk of setting off the smoke alarm or forgetting something in the oven while you’re busy answering the door for trick-or-treaters.
What I love most about this recipe is how it tricks everyone into thinking you’re some kind of Pinterest-perfect parent or host, when really you just stuck some fruit on sticks and dunked them in melted chocolate. The frozen bananas create this perfect ice-cream-like texture that pairs beautifully with the sweet white chocolate coating, and kids go absolutely wild for them. Plus, you can feel slightly less guilty about loading everyone up on sugar since there’s actual fruit hiding underneath all that chocolate goodness.
- 4 ripe bananas
- 8 oz white chocolate chips or white chocolate melting wafers
- 24 mini chocolate chips or dark chocolate chips
- 12 wooden popsicle sticks or lollipop sticks
Cooking Steps
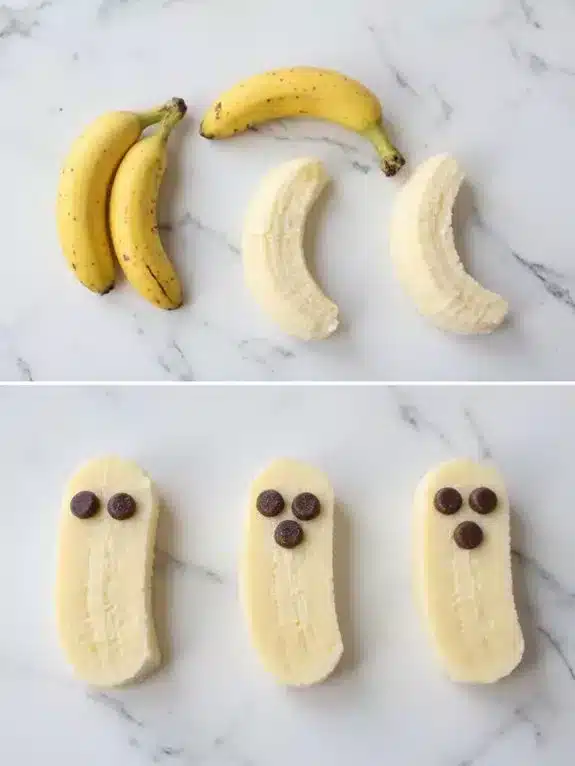
You’ll start by peeling your bananas and cutting each one in half, then push those popsicle sticks about halfway through each piece—trust me, frozen bananas without sticks are just messy disappointments waiting to happen.
Pop those little guys in the freezer for a solid two hours while you melt your white chocolate until it’s smooth as silk, because lumpy chocolate coating screams “amateur hour.”
Once everything’s ready, you’ll dip each frozen banana into the melted chocolate, quickly press on those mini chocolate chip eyes, and watch your kitchen transform into a ghost factory.
Step 1. Peel and Halve Bananas
The foundation of perfect Banana Ghosts starts with selecting bananas that hit that sweet spot between ripe and firm—too green and they’ll taste bland, too spotted and they’ll turn to mush the moment you dip them in chocolate. You want those beautiful yellow beauties with just a hint of green at the tips.
Peel each banana carefully, avoiding those annoying stringy bits that love to cling. Cut each banana in half crosswise—not lengthwise, trust me on this one. You’ll end up with eight adorable ghost-sized pieces that are perfect for little hands to hold. This texture variation between the creamy banana and crisp chocolate coating is what makes these treats so delightful. For storage preservation, keep your prepped bananas covered until you’re ready for the next step.
Step 2. Insert Popsicle Sticks Halfway
Now comes the slightly tricky part that’ll make or break your ghost parade—getting those popsicle sticks positioned just right. You’ll want to insert each stick about halfway through your banana half, aiming for that sweet spot where it’s secure but won’t poke through the other end. Think of it like threading a needle, except way easier and with zero chance of pricking your finger.
Push gently but firmly—these little guys need to hold up during the chocolate-dipping adventure ahead. A wobbly stick means chocolate dripping consistency issues later, and nobody wants their ghost sliding off mid-bite. Proper freezing technique starts here too, since well-positioned sticks create better stability when those bananas firm up in the freezer.
Step 3. Freeze Bananas 2 Hours
Patience becomes your best friend during this essential freezing phase, because rushing will absolutely sabotage your ghost-making dreams. You’ll want to slide that parchment-lined baking sheet straight into your freezer, making sure those banana pops aren’t touching each other. Trust me, frozen banana pancakes are nobody’s Halloween goal here.
Your freezer temperature should hover around zero degrees Fahrenheit for ideal results. The proper freezing duration of two full hours isn’t negotiable – we’re talking firm, solid bananas that won’t turn into mushy disasters when they meet hot chocolate. I know waiting feels torturous when you’re excited to create spooky masterpieces, but this step transforms wobbly fruit into sturdy canvases. Set a timer, resist peeking every fifteen minutes, and let science work its magic.
Step 4. Melt White Chocolate Smoothly
White chocolate can be absolutely temperamental, turning from silky smooth to seized-up disaster faster than you can say “Halloween treat gone wrong.” Grab a microwave-safe bowl – glass or ceramic works best because they heat evenly – and dump in your white chocolate chips or melting wafers.
Here’s your game plan: microwave in 30-second bursts, stirring between each round. No shortcuts here, trust me. The double boiler method works too if you’re feeling fancy, but honestly, who’s time for that when kids are bouncing off the walls waiting for treats?
Temperature control is everything – you want smooth, not scorched. Keep stirring until it’s glossy perfection. If it seizes up, don’t panic. Sometimes a tiny bit of coconut oil can save the day.
Step 5. Dip and Add Eyes
Once your white chocolate reaches that perfect molten consistency, it’s time for the main event – transforming those frozen banana pops into adorable little spirits. Working quickly, dip each banana straight down into the chocolate, giving it a gentle twirl to coat evenly. Don’t worry if the coverage isn’t perfect – ghosts aren’t meant to look flawless anyway. The texture variation actually adds character.
While the chocolate’s still wet, press two mini chocolate chips into each ghost for eyes. Here’s where chocolate customization gets fun: try dark chocolate chips for classic looks, or white chocolate chips for albino spirits. The cold banana makes the coating set fast, so move with purpose but don’t panic.
Top Tips
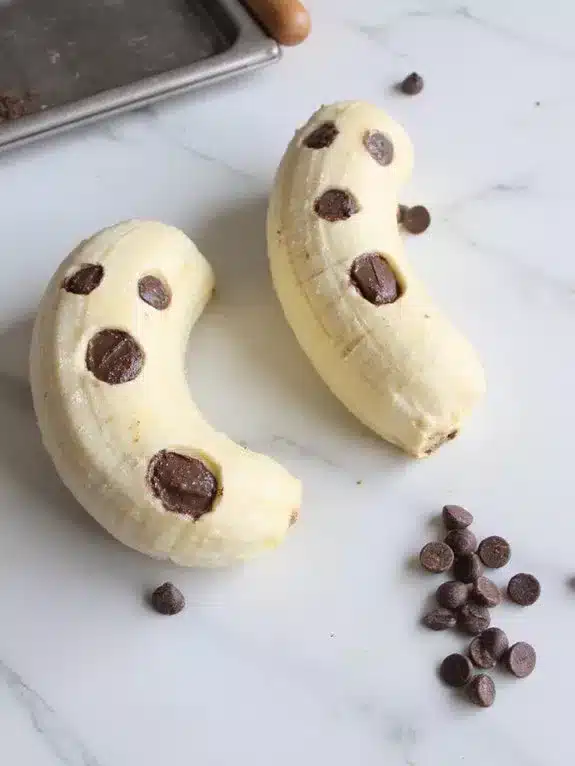
While these little ghostly treats might look simple enough, there’s definitely a sweet spot when it comes to banana selection that’ll make or break your spooky snacks. You want bananas that are yellow but still have some firmness—think of them as the Goldilocks of fruit. Too green and they won’t taste sweet enough, too ripe and they’ll turn into mushy disasters when you dip them.
Here’s where texture variation becomes your friend: if your bananas are slightly different ripeness levels, you’ll get interesting contrasts in each bite.
For storage suggestions, keep these ghostly beauties in the fridge, but don’t stack them or they’ll stick together like awkward party guests. Pro tip: place parchment between layers.
Nutritional Guide
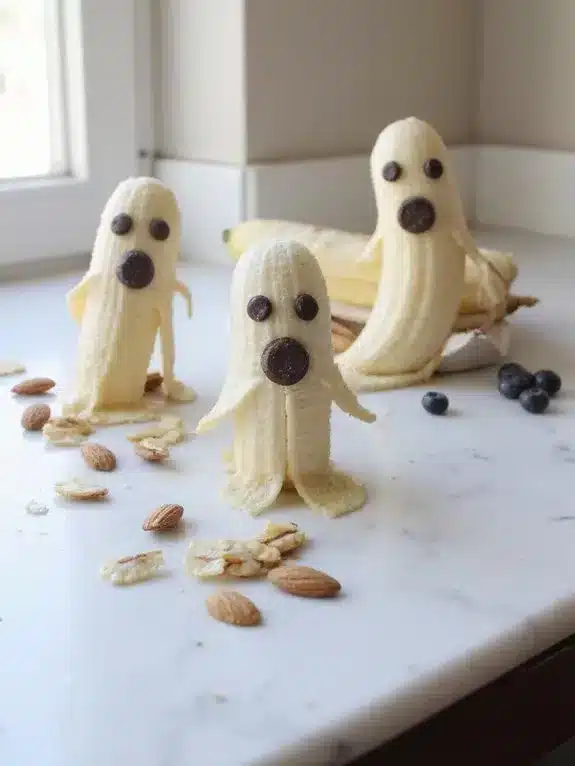
| Nutrient | Per Serving (1 ghost) |
|---|---|
| Calories | 145 |
| Total Fat | 6g |
| Saturated Fat | 4g |
| Cholesterol | 2mg |
| Sodium | 8mg |
| Total Carbohydrates | 24g |
| Dietary Fiber | 2g |
| Sugars | 20g |
| Protein | 2g |
| Potassium | 280mg |
| Vitamin C | 8mg |
Each Banana Ghost provides a good source of potassium, which supports heart health and muscle function, along with vitamin C for immune system support. The natural sugars from the banana offer quick energy, while the small amount of fiber aids in digestion. Despite the white chocolate coating, these treats remain relatively moderate in calories compared to many traditional Halloween candies.
*Nutritional values are estimates and may vary depending on specific brands of ingredients used, banana size, and amount of chocolate coating applied.*
Final Thoughts
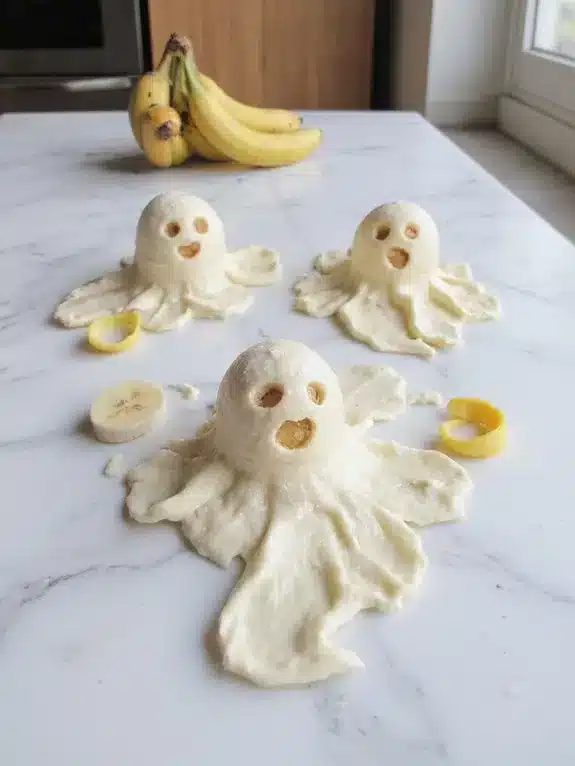
Three simple ingredients—bananas, white chocolate, and mini chocolate chips—transform into something that’ll make kids squeal with delight and adults secretly sneak seconds when no one’s looking. The ease of preparation makes these treats your secret weapon for those last-minute Halloween festivities when you’re scrambling to contribute something memorable.
You don’t need fancy equipment, culinary school training, or even decent knife skills. Just grab some bananas, melt chocolate, and boom—you’re the hero of the Halloween party. These little ghosts create those warm, fuzzy moments where everyone’s laughing, taking pictures, and asking for the recipe.
Sometimes the best treats aren’t the most complicated ones, they’re the ones that bring people together around something simple and sweet.
Frequently Asked Questions
Can I Use Milk Chocolate or Dark Chocolate Instead of White Chocolate?
You can absolutely use milk chocolate flavor or dark chocolate flavor instead! While you’ll lose the classic ghostly white appearance, you’ll create delicious “chocolate-covered banana pops” that taste amazing and bring everyone together.
How Long Do Banana Ghosts Last at Room Temperature?
chocolate melts at just 86°F! Your treats won’t last long at room temperature due to temperature impact on both chocolate and bananas. For ideal storage duration, you’ll want to keep them refrigerated instead.
What Can I Substitute for Popsicle Sticks if I Don’t Have Any?
You can easily use wooden skewers cut in half or sturdy toothpicks as perfect alternatives. Many of us have found these kitchen staples work wonderfully when you’re missing popsicle sticks for your treats!
Can I Make These Treats Ahead of Time for a Party?
Who doesn’t love stress-free party prep? You’re absolutely smart preparing in advance! These treats stay fresh when refrigerating ahead for up to two days. Just make them, store covered, and you’ll have one less party task to worry about!
Are There Any Nut-Free Chocolate Options for Children With Allergies?
You’ll find many dairy free chocolate varieties at most grocery stores that are completely nut-free. Look for chocolate allergy friendly options like Enjoy Life or SunButter brands—they’re specifically made for families dealing with food allergies together.
Printable Recipe Card
Want just the essential recipe details without scrolling through the article? Get our printable recipe card with just the ingredients and instructions.


